How to A/B a plugin honestly, and why louder always wins
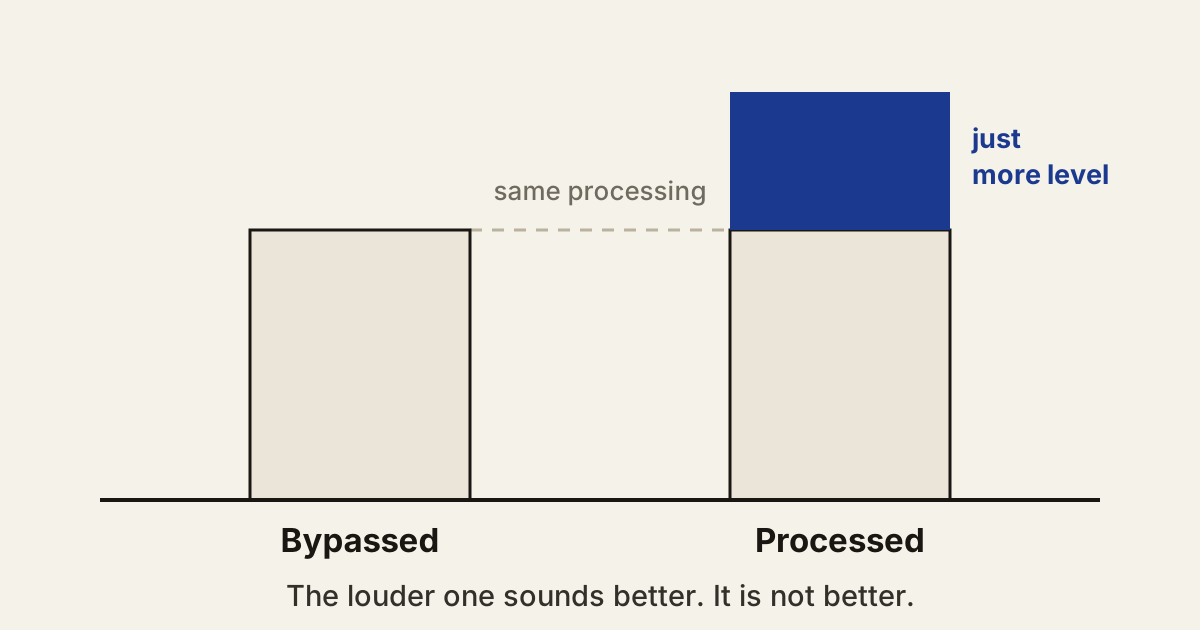
Every plugin you audition has an unfair advantage over the bypass button. Almost anything that adds saturation, compression or low end also adds level, and the ear reads a louder version as the better version. Not warmer, not fuller, just better. This happens well below the point where you consciously notice a volume change, and it is the single most common reason people buy a plugin that does nothing their existing chain could not.
Level matching removes that advantage. It takes about thirty seconds and it changes what you buy.
Why the ear is not neutral
A difference of around 1 dB is enough to swing a preference test, and most people cannot identify that difference as loudness. It presents as clarity, or weight, or presence. Manufacturers know this, which is why so many plugins ship with a default preset that is a little hotter than the input.
None of that means the plugin is bad. It means you cannot evaluate it until both signals arrive at your ear at the same level.
The thirty second version
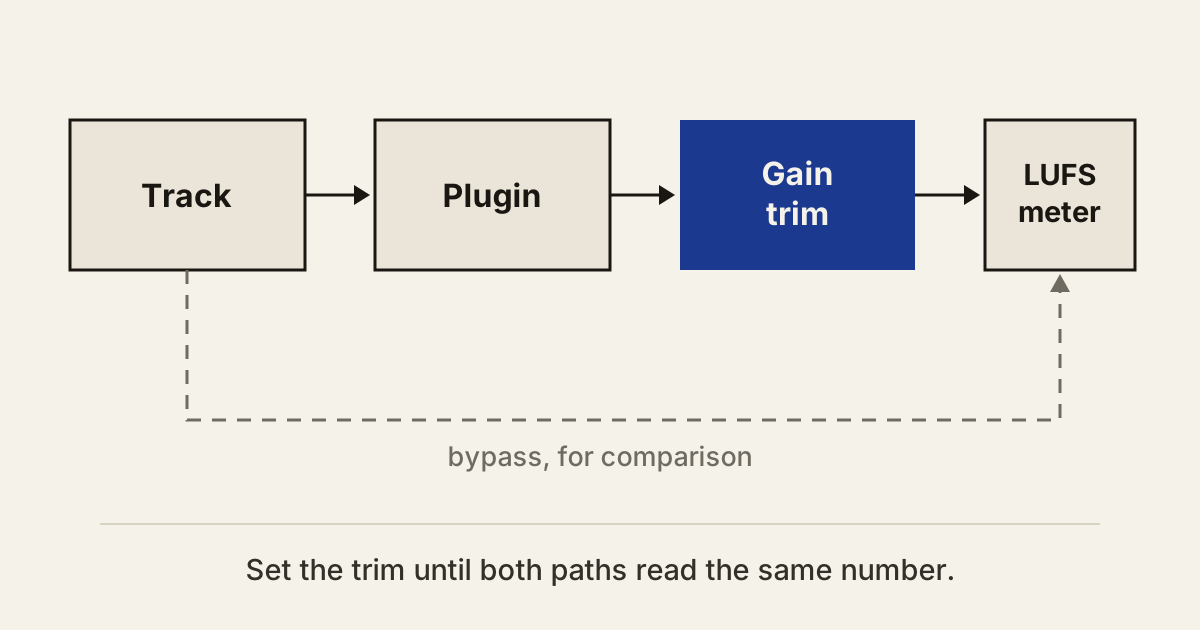
- Put a gain plugin and a loudness meter after the plugin you are testing.
- Play a loud, typical section of the track. Note the meter reading with the plugin bypassed.
- Enable the plugin. Adjust the gain until the meter reads the same number.
- Now compare. Toggle between the two states repeatedly.
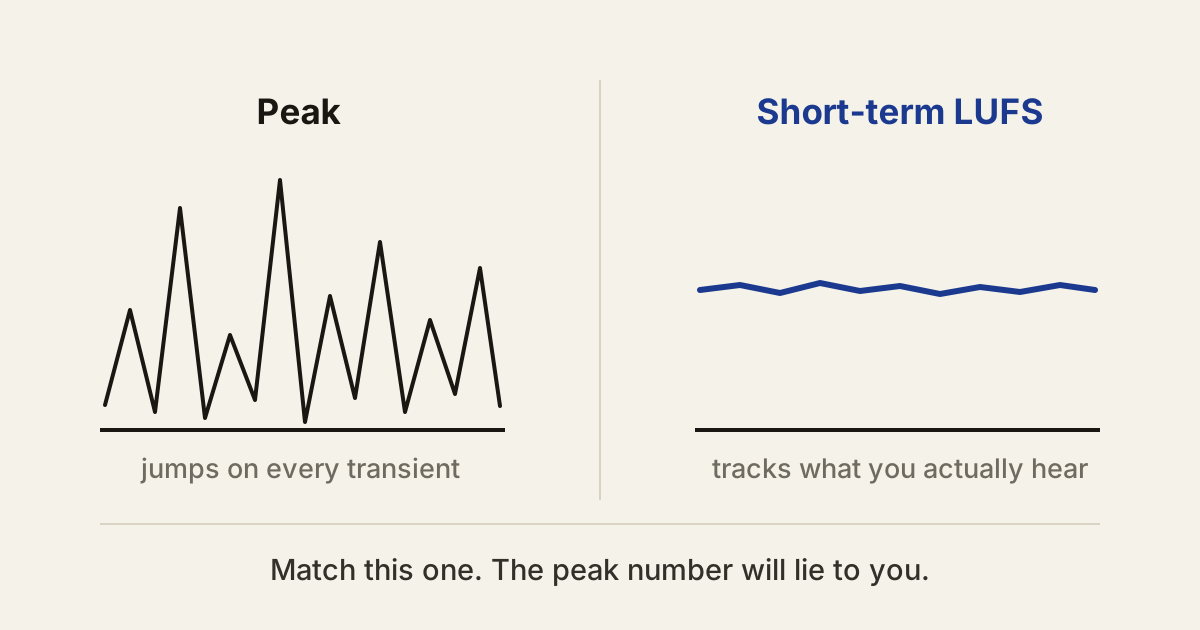
Use short-term LUFS or RMS rather than peak. Peak readings jump around on transients and will send you chasing a number that has nothing to do with perceived loudness. Any free meter does this; there are several in our free plugins directory.
What to listen for once it is fair
With the level advantage gone, most processing gets less impressive and more specific. That is the point. You are no longer asking whether it sounds better, you are asking what it actually did.
Listen for what got worse as well as what got better. Compression that thickens a bus often flattens the transient that made the snare cut. Saturation that adds harmonics also raises the noise floor and can smear the top end. A plugin that survives a level-matched comparison and still sounds like an improvement is worth the money. Most do not, and that is useful information.
Three habits that make it stick
Test on the loudest part of the arrangement, not a solo. A compressor that sounds beautiful on a soloed vocal can vanish or fight the mix once the drums arrive. The full arrangement is the only context that matters.
Check in mono, at least once. Anything that widens the stereo image reads as bigger and better in stereo, then collapses on a phone speaker or a club system with mono bass. If the improvement only exists in stereo, you have bought width, not quality.
Re-check after you commit. Adjusting the plugin changes the output level again. Level matching is not a one time step at the start of the audition, it is something you redo every time you move a control that affects gain.
The version that costs nothing
If you do not want to set up a meter, use the crudest possible test: turn the plugin’s output down until it sounds slightly worse than bypass, then bring it up until the two are hard to tell apart. If you cannot find a position where they sound roughly equal, the plugin is probably doing something real. If you can, it was mostly volume.
That is the whole trick, and it applies to every processor you will ever demo. It costs nothing, it takes thirty seconds, and it will save you more money than any sale.