Move 2.1 bounces a MIDI clip to audio without stopping the transport
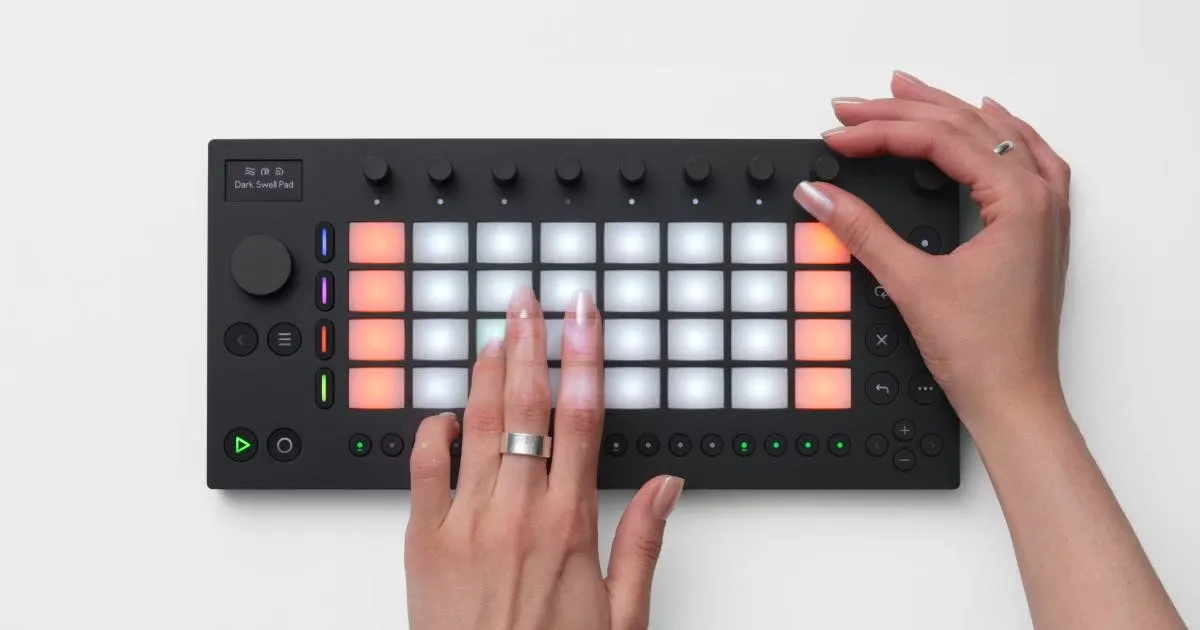
Move 2.1 adds a bounce command, and the reason it matters on a device this size is arithmetic. Move has four tracks. Every idea that stays as MIDI holds one of them open, and the moment you want a fifth part you are choosing which of the first four to lose.
Bouncing turns a MIDI clip into audio in place. Ableton describes it as a way to free up Move’s tracks, and the freed track is the whole point: the part you already played stops occupying an instrument slot and becomes a clip you can warp like any other recording.
Rendering is not a recording pass
The distinction worth understanding is between bouncing and resampling, because Move could already do the second one.
Resampling means playing the part and capturing its output. It happens in real time, it happens once, and it costs you the length of the clip every time you change your mind. Bouncing renders the clip instead. There is no pass to sit through and no monitoring path to get wrong.
That also means the source survives. A resample captures whatever the instrument was doing at that moment; a bounce leaves the MIDI clip where it was, so the arrangement that produced the audio is still editable if the audio turns out wrong.
What it changes about working on four tracks
A four-track limit is not really a limit on parts. It is a limit on how many parts can stay editable at once, and bouncing moves the boundary.
The practical pattern is to commit early on anything settled. A drum part you are happy with does not need to keep a track’s instrument alive. Bounce it, take the track back, and spend it on the thing you are actually still writing.
The cost is the usual one for committing: the bounced audio carries whatever the instrument was doing, including any effects in the chain at that moment. Warping can stretch it and the clip can take another effect pass, but the sound design inside it is fixed. Bounce the parts you have decided about, not the ones you are still arguing with.
Where this sits against a laptop
Move is not trying to be a DAW, and the bounce command is a good illustration of the difference. In Live you would freeze and flatten a track without thinking about it, because tracks are effectively free.
On hardware with four of them, the same operation is a decision about what the device is currently for. That is closer to how people worked on tape and on early samplers, where committing was routine because the alternative was running out of something. Move 2.1 does not remove the constraint. It gives you a fast way to spend it deliberately.
Producer’s note
Bounce before the second processing pass, not after.
If you want a part distorted and then filtered as one sound, bounce it once the distortion is right and treat the result as a new source. The alternative is stacking both stages on a live instrument and discovering that the filter is reacting to something you can no longer isolate.
Keep the original MIDI clip until the track is finished. It costs nothing where it sits, and it is the only copy of the performance that still has notes in it.
Read more at Abletonhttps://www.ableton.com/en/move/